







A natural everyday makeup look is not about hiding your face under less product. It’s about placement: a sheer base only where your skin tone needs evening out, color where your face naturally produces it, and definition kept close to the features you already have. Done in the order below, the routine takes about ten minutes, uses a short list of basic product types, and still looks like skin in daylight. Each step includes the adjustment for dry, oily, or combination skin, because that is where most everyday routines quietly go wrong.
Step 1: Prep Your Skin
Makeup sits on whatever is underneath it. Cleanse, then moisturize while your skin is still slightly damp, and give it a minute or two to settle. Sunscreen, if you wear it, goes on after moisturizer and needs its own short pause. Base applied over wet sunscreen tends to pill and slide.
If you are unsure which products belong in which order, our guide to skincare routine order lays out the full sequence.
Adjust for your skin type here, not later. Dry skin does best with a cream moisturizer and no mattifying primer — extra matte layers make a light base cling to flakes. Oily skin needs less moisturizer, not none: a gel formula works. Combination skin splits the difference — cream on the cheeks, gel or nothing extra through the T-zone.
The common mistake: applying base immediately over fresh moisturizer. The layers mix, coverage sheers out unevenly, and the finish looks patchy by midday.
Step 2: A Sheer, Even Base
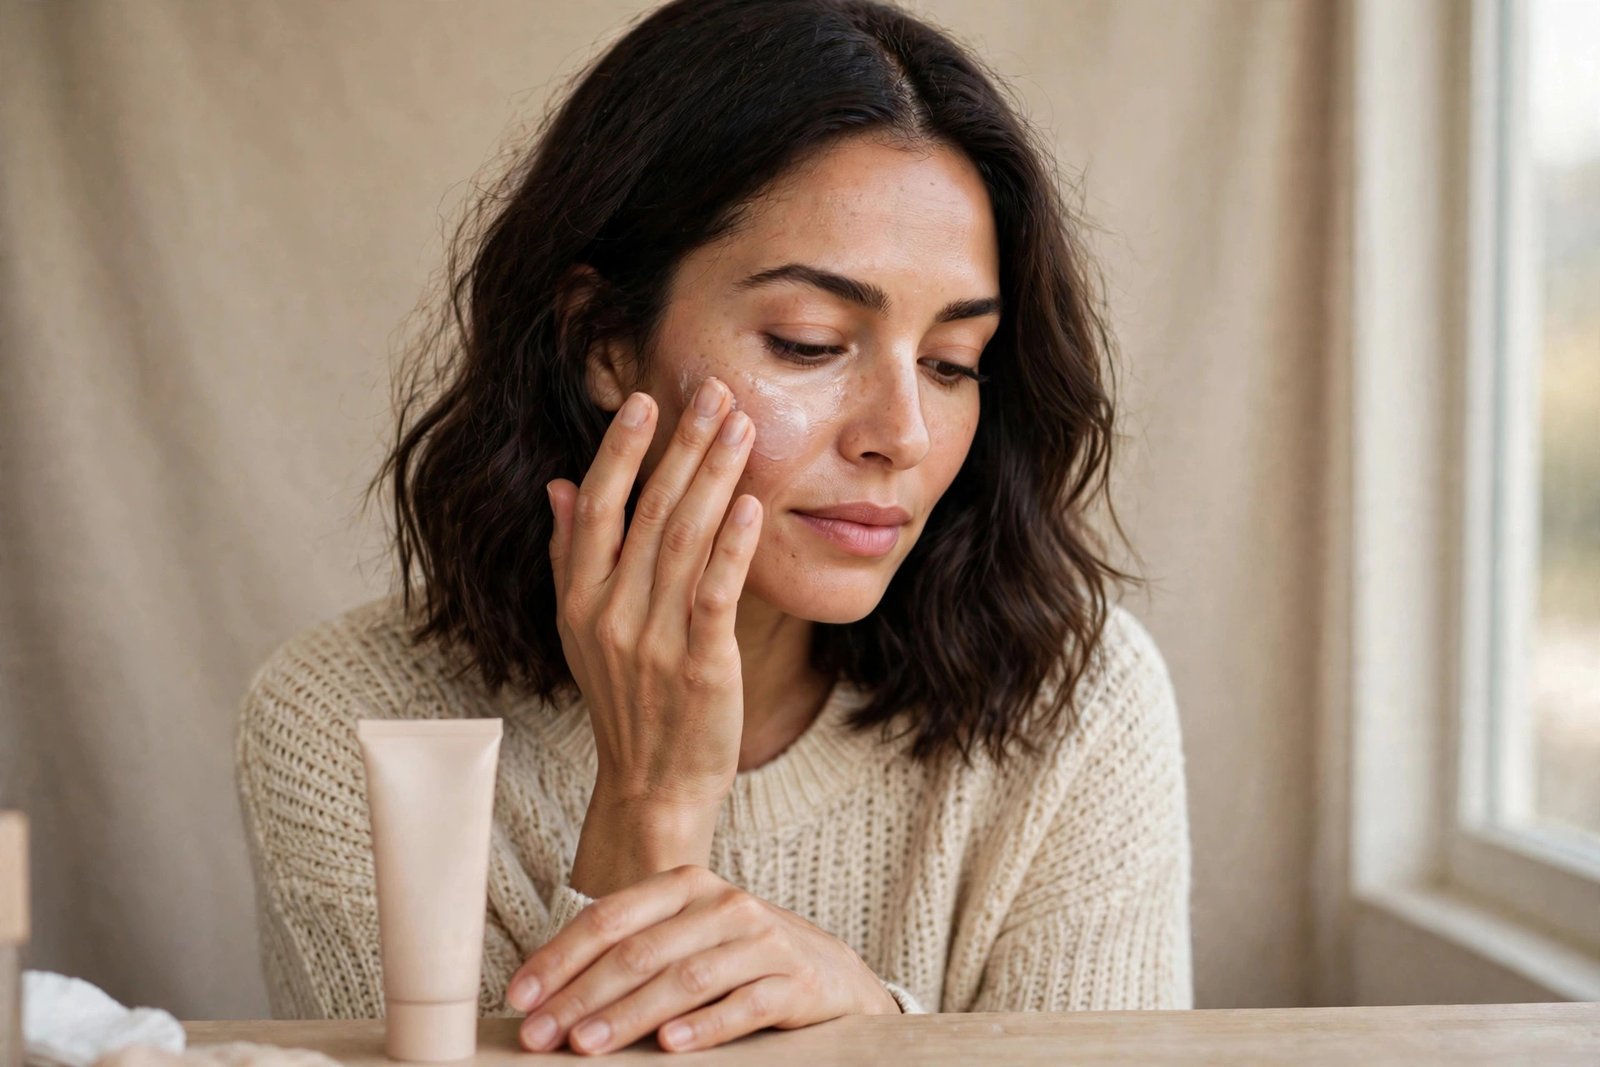
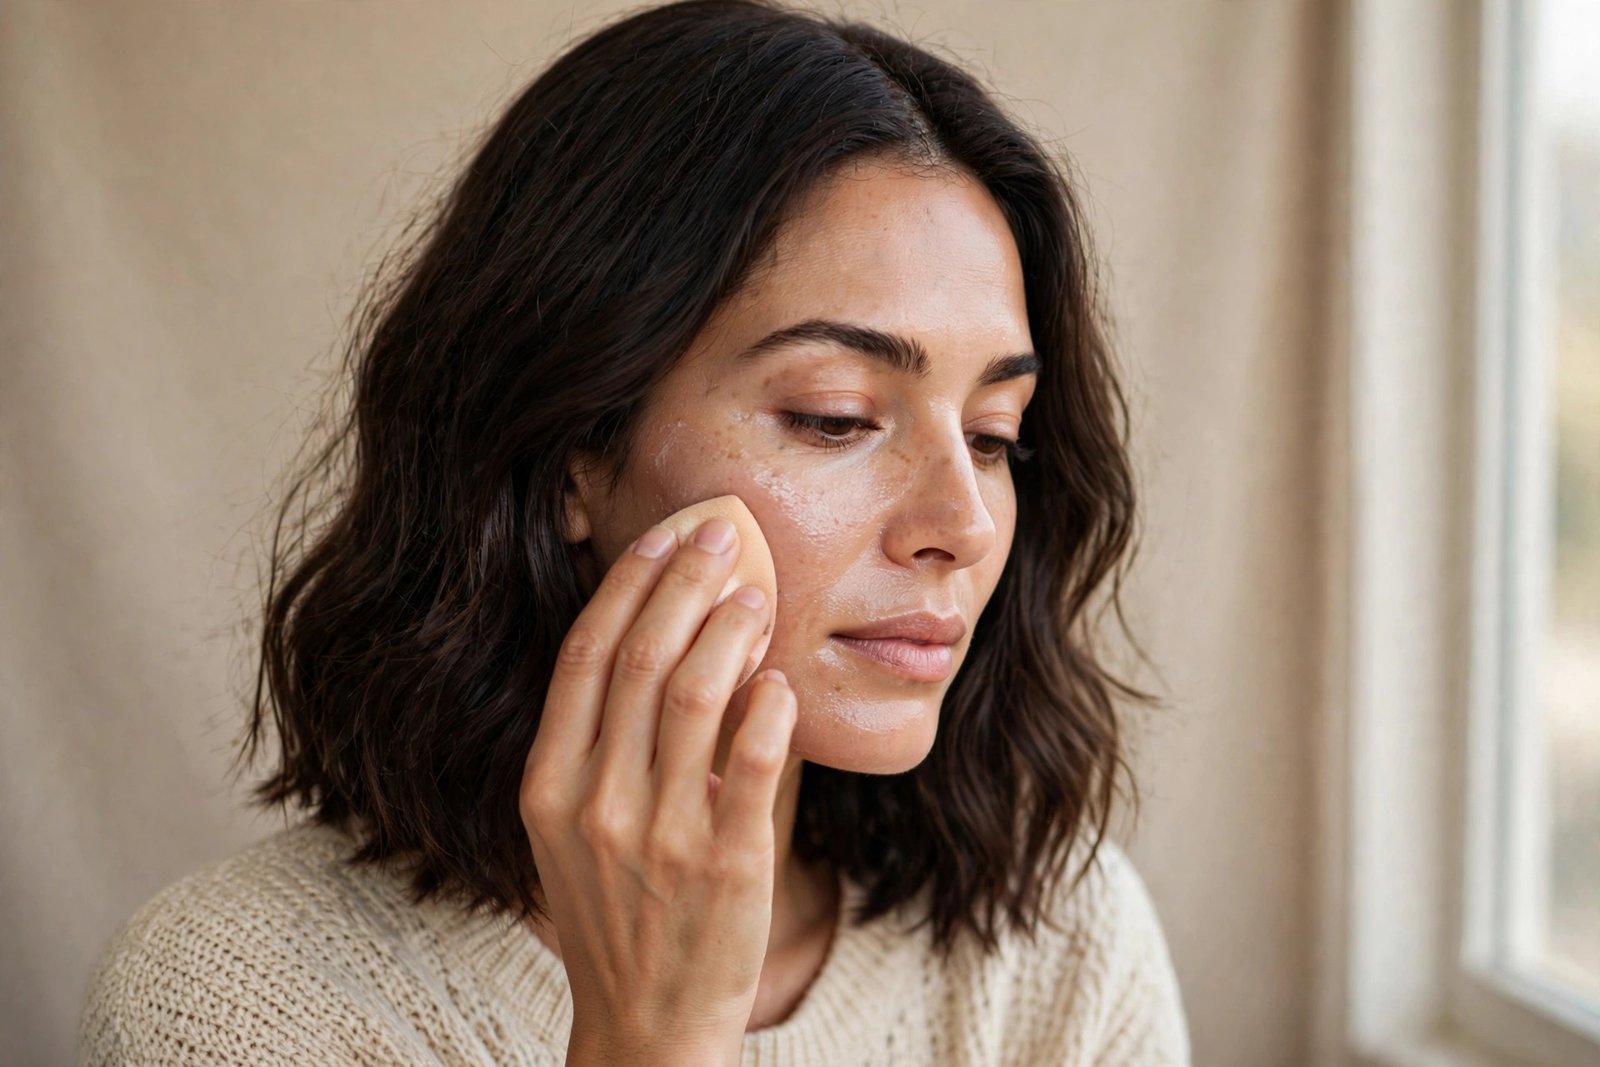
The goal is to even out tone, not to cover skin. A tinted moisturizer, skin tint, or sheer foundation does that with the least visible texture. Apply a small amount to the center of the face — forehead, nose, cheeks, chin — and blend outward with a damp sponge or your fingers. Coverage should fade to almost nothing at the jawline and hairline. If you can see an edge, keep blending instead of adding product. Work in thin layers and stop as soon as redness softens: freckles, moles, and your skin’s natural variation should still show through.
Concealer, Placed Not Painted
Concealer goes only where the base was not enough: under the eyes, around the nose, and on individual spots. Dot it on, wait half a minute so it sets slightly, then tap the edges with a fingertip or sponge. Painting wide triangles under the eyes adds far more product than the area needs.
Choose a concealer close to your actual skin tone for spots and redness. Under the eyes, a shade very slightly lighter than your base can lift the area, but several shades lighter creates a pale, obvious patch — on medium and deep skin tones it can also turn grayish. Depth matters more than brightness here.
Skin-type notes: Dry skin does better with a cream or liquid concealer and no powder over it. Oily skin benefits from letting concealer set, then pressing — not sweeping — a little translucent powder over the T-zone only.
Step 3: Brows — Groomed, Not Drawn On
Brows frame everything else, and in a natural look they should look brushed rather than constructed. Brush the hairs upward and outward with a clean spoolie to see the actual shape, then fill only the gaps: a fine pencil or powder in short, light strokes following the direction of hair growth, concentrating on sparse patches and the tail, which is usually thinnest.
Match the product to your brow color or go one shade softer — a filler darker than your natural brows makes them look drawn on. Finish with clear or lightly tinted brow gel to hold the hairs in place.
The common mistake: outlining the whole brow with a hard edge, especially at the inner corners. Real brows start soft and sparse near the nose — keep the front lightest and build definition toward the tail.
Step 4: Eyes — Definition Without Drama
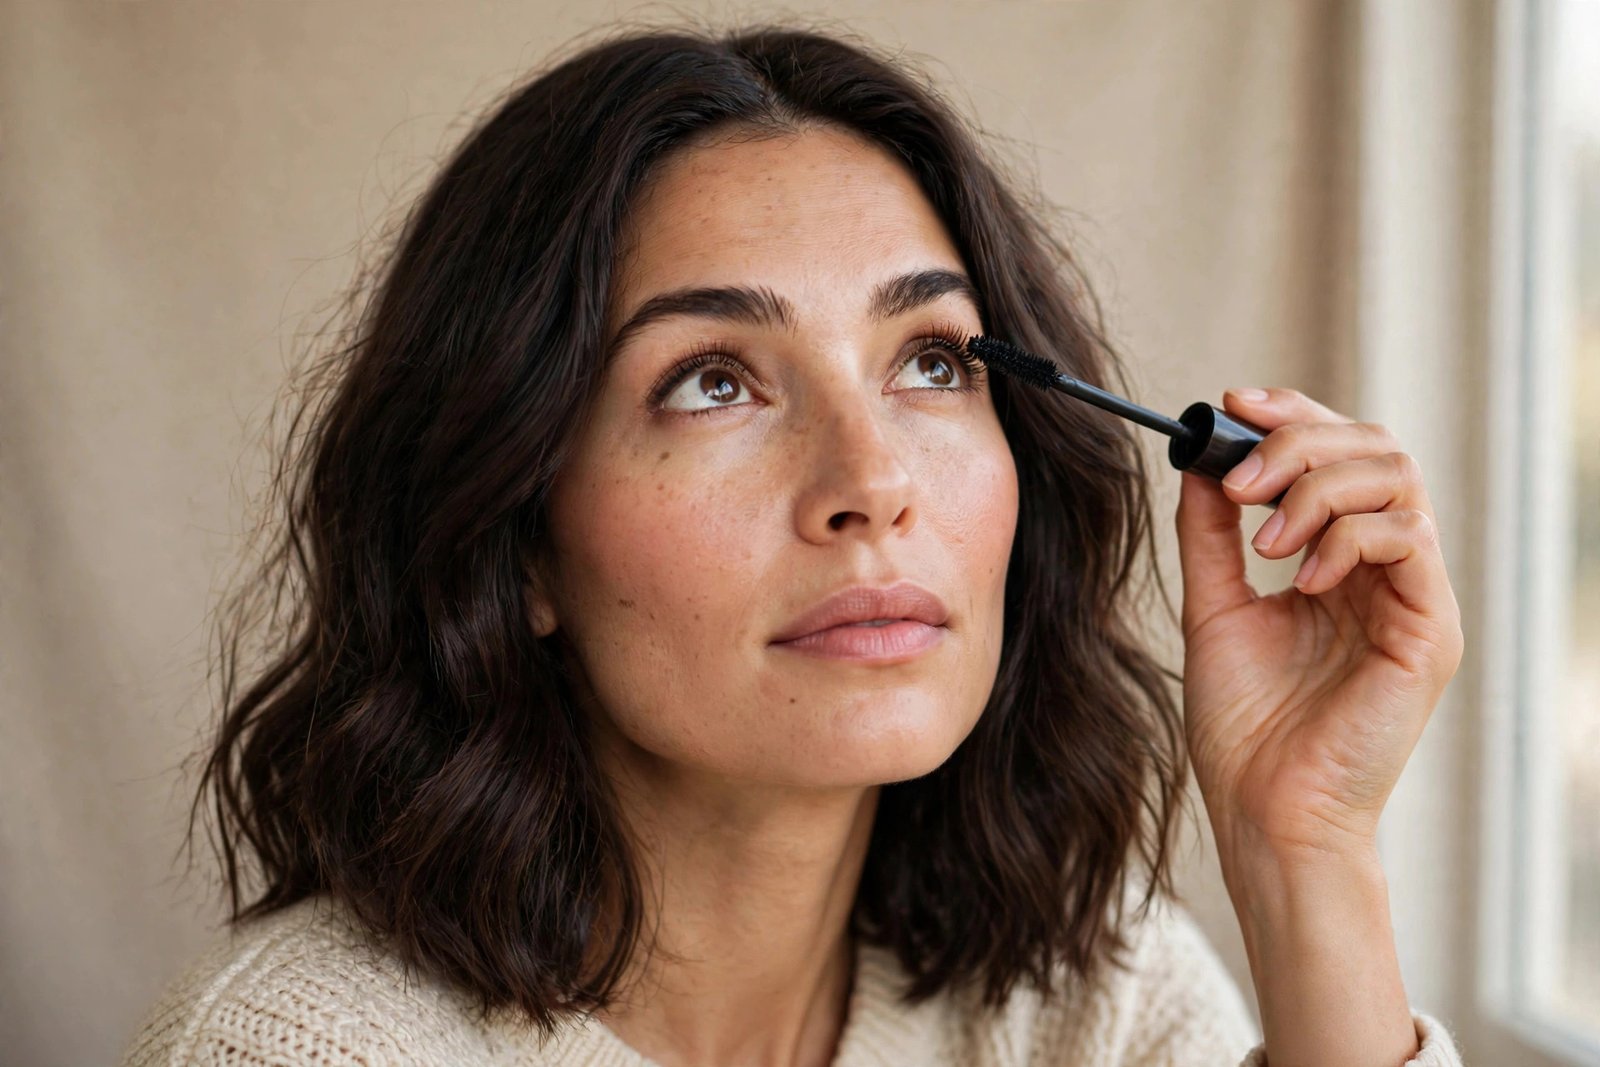
Everyday eye makeup needs to do one job: make your eyes look awake and defined at conversational distance. A wash of matte or satin eyeshadow in a neutral tone close to your skin — soft taupe, warm brown, or muted bronze depending on your depth — swept across the lid and blended into the crease is enough for most days. Deeper skin tones need more pigment depth for a shade to show up: if a “neutral” shadow disappears or looks ashy on you, it’s too light and too gray — not a failure of technique.
Curl your lashes before mascara. It does more for an open look than a second coat does. Apply one coat, wiggling the wand at the roots and pulling through, favoring brown or soft black over jet black for the softest result.
The common mistake: skipping the lash curl and compensating with extra mascara coats, which weighs lashes down and clumps — the opposite of the light finish this look depends on.
Step 5: Cheeks — Blush That Looks Like Skin
Blush is what makes this routine look like health rather than makeup. Cream blush suits the finish best because it melts into the base instead of sitting on top of it. Place the color on the round part of the cheek, then blend upward toward the temple with fingertips or a sponge, until you cannot find the edge. Keep blush on the upper half of the cheek rather than low near the mouth, which drags the face down; heavy contour has no place in this routine.
Shade choice should follow your own coloring, not a single default. Soft pinks and peaches read naturally on light skin; medium skin tones carry rose, apricot, and warm berry well; on deep skin, richer shades — deep berry, brick, warm plum — give a visible flush where pastel pinks often turn chalky. When in doubt, pick the color your cheeks turn after a brisk walk.
Skin-type notes: Cream blush lasts well on dry and normal skin. On oily skin, set it with a dusting of powder blush in a similar shade so it does not slide by afternoon.
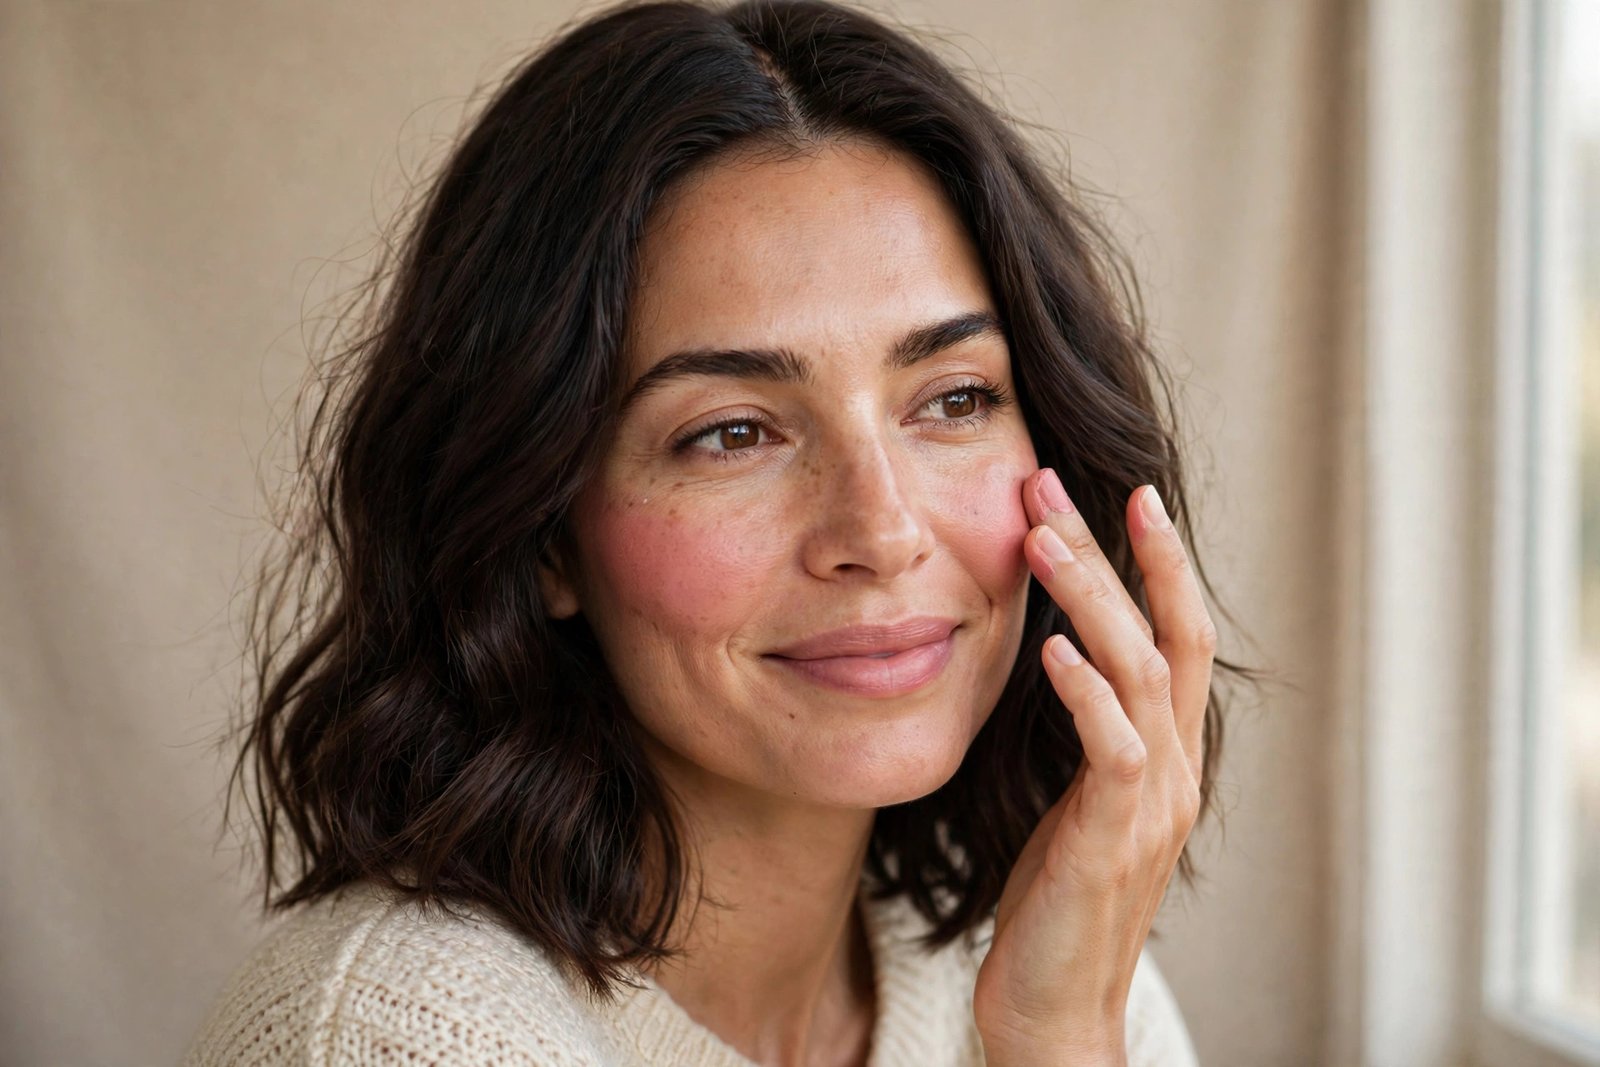
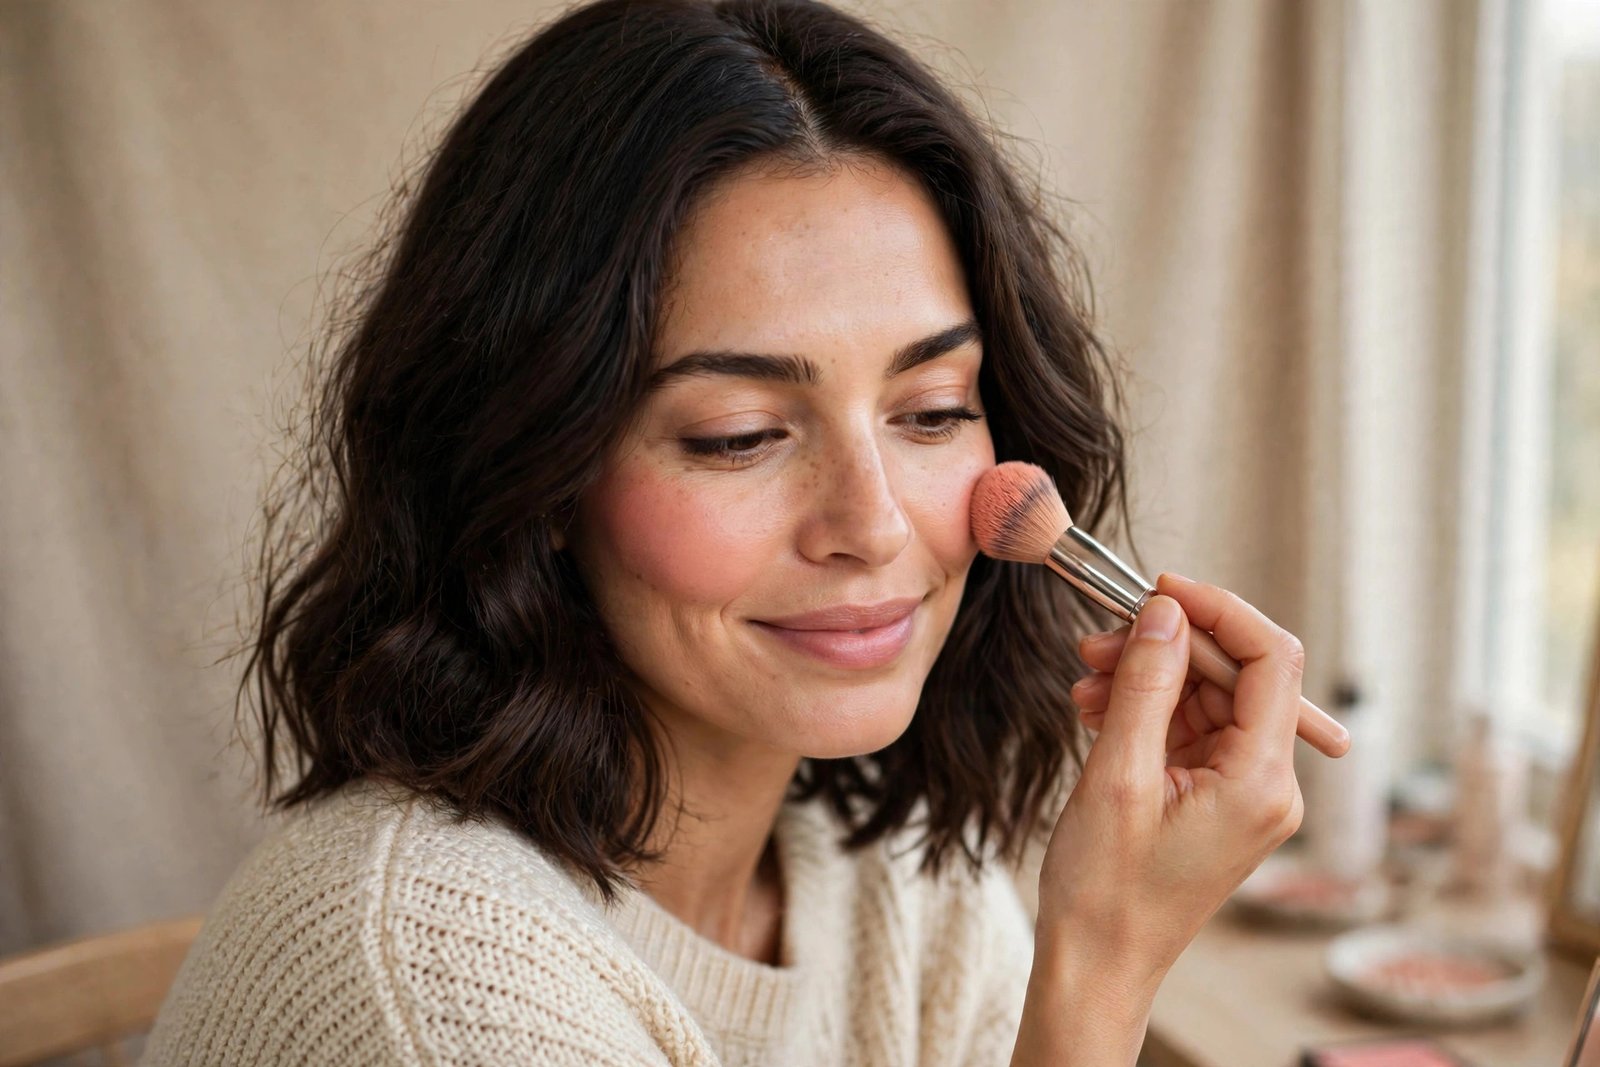
Step 6: Lips — Your Own Color, Slightly Deepened
The most natural lip is your own lip color with the edges cleaned up and the surface hydrated. A tinted lip balm or sheer lipstick near your natural lip tone does this in one step: apply, blot once with tissue, and add a second light layer so the color lasts without building into an obvious coat.
Natural lip tones vary widely: pink, mauve, brown, berry, or two-toned. All of those are the reference point here, not a single “nude.” If a shade washes you out or turns gray at the edges, it’s lighter than your natural lip and will fight the rest of the routine. Dry, flaky lips show under any formula, so apply balm first, during the earlier steps.
The common mistake: pairing this soft routine with a matte, full-coverage lipstick. Fine in another context, but its weight makes the rest of the face look unfinished by comparison.
Step 7: Set Only Where You Need It
Setting is optional and zonal, not a full-face step. Dry skin may need nothing at all, or a light setting spray pressed in with a sponge. Oily skin does better with translucent powder pressed only where shine breaks through first — forehead, nose, and chin — leaving the cheeks alone so the blush keeps its finish. Combination skin follows the same logic by zone.
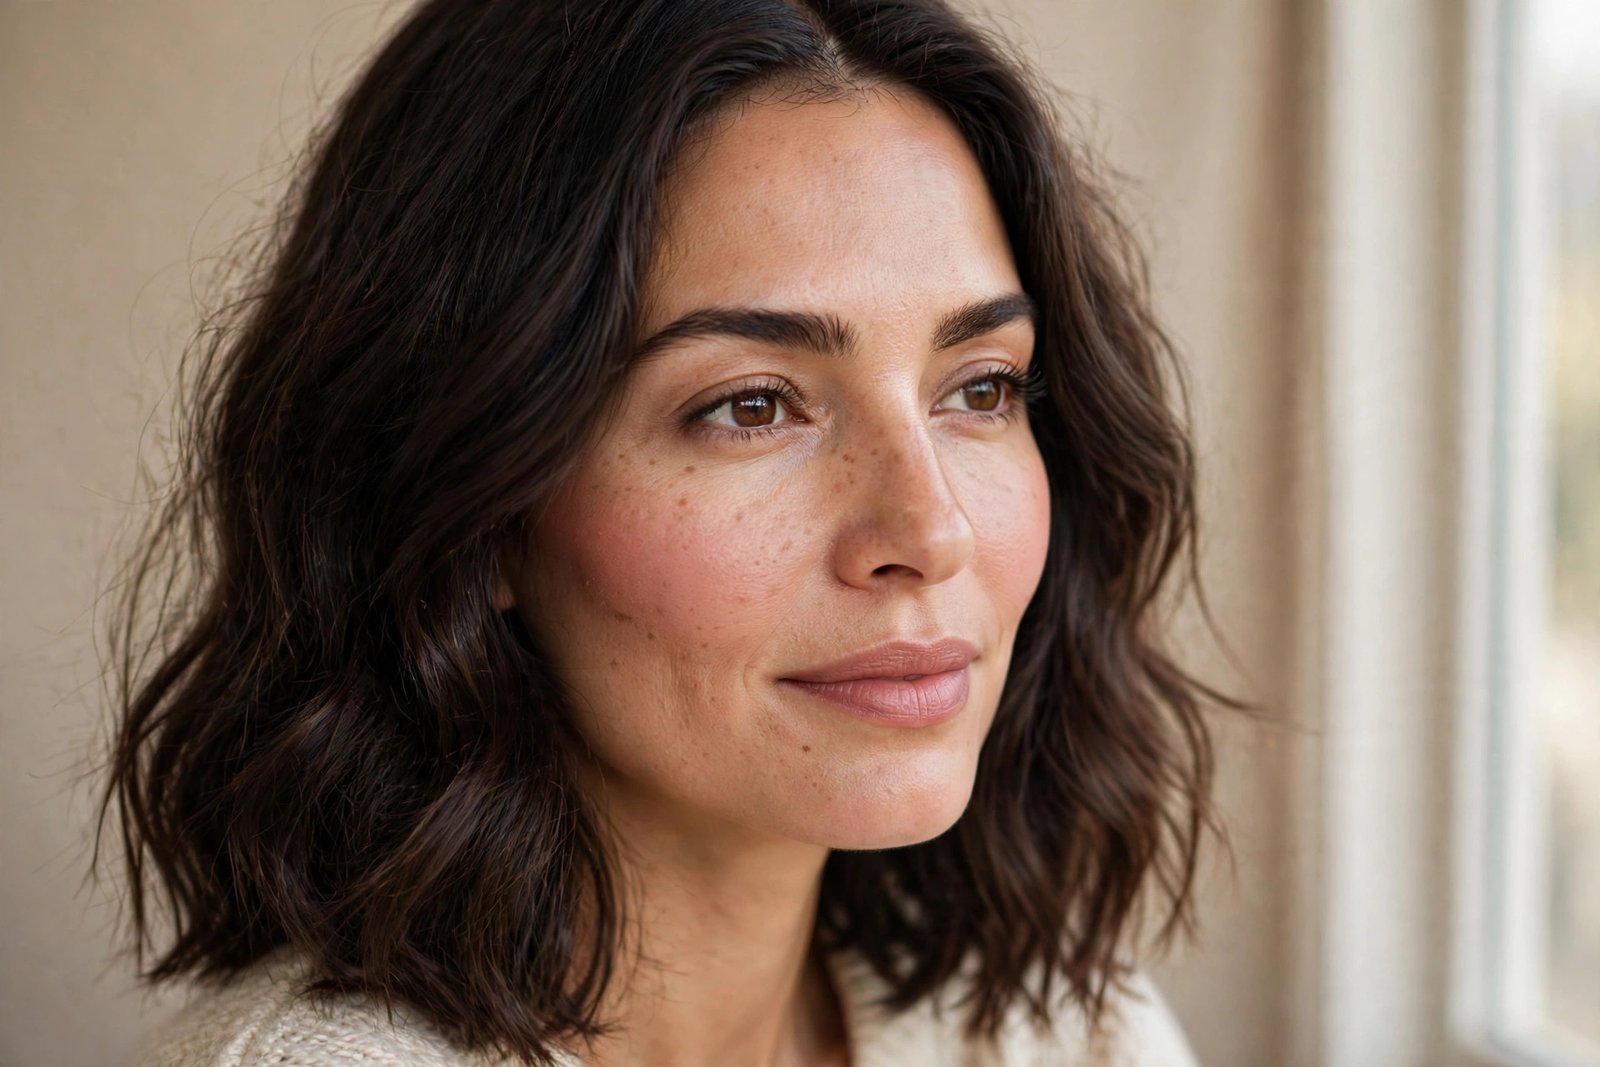
Then do the daylight check: step near a window and look at your jawline, the sides of your nose, and under your eyes. Edges that disappear in bathroom light often show outside. Blend what you can see, and stop.
Two Ways to Adjust the Routine
The 5-Minute Version
Keep four steps: moisturize, spot-conceal only where you want coverage, cream blush, and mascara, with tinted lip balm as you leave. Skipping the full base saves the time, and on a good skin day the shorter version can look fresher than the full routine — there’s simply less on the face.
A More Polished Version for Work
Keep all seven steps and add small amounts of structure: a more thorough concealer pass, brow gel for hold, and a second coat of mascara. Polish here comes from neatness — blended edges, groomed brows, even lip color — not from dramatic color or heavier coverage.
Common Mistakes That Make Everyday Makeup Look Heavy
- Starting with too much base. A full-coverage layer is hard to walk back. Start sheer; add a second thin layer only where you need it.
- Matching foundation only to your face. Test shades along the jawline in daylight. A base that matches your face but not your neck leaves a visible line.
- Treating powder as compulsory. On skin that doesn’t need it, powder dulls the finish and settles into fine lines, especially under the eyes.
- Judging the result only in bathroom light. Warm, dim lighting hides edges and mutes color. The window check in Step 7 is part of the routine.
Frequently Asked Questions
Can I do a natural everyday makeup look without foundation?
Yes. Use concealer as your base: place it only under the eyes, around the nose, and on spots, then blend the edges well. Many people find this looks fresher than a full base, particularly on dry or mature skin, where foundation settles into texture.
How do I keep natural makeup from fading by midday?
Most fading starts at prep and setting. Let moisturizer and sunscreen settle fully first, keep layers thin — thick layers slide more, not less — and set only the zones where you get shiny.
What if my skin is very oily — will a sheer base last?
It can, with adjustments: gel moisturizer instead of cream, a sheer base with a natural matte or satin finish rather than a dewy one, powder pressed onto the T-zone before you leave, and blotting instead of heavy re-powdering later. Some shine will return; a soft sheen by afternoon is normal skin behavior, not a failed routine.
How do I choose a natural lip shade for my skin tone?
Start from your bare lip color and go one step deeper or richer, not lighter. Naturally pink lips suit rose tints; brown or berry-toned lips suit tints in that family. Check the shade in daylight before committing to it.
Is this routine suitable for sensitive skin?
The routine uses fewer layers and less product, but reactions depend on specific products and ingredients, and no routine can promise to suit every skin. Introduce one new product at a time, patch test as directed, and stop using anything that stings, burns, or leaves a rash. Persistent concerns belong with a dermatologist, not a makeup routine.
Conclusion
A natural everyday makeup look holds together on three habits: prep matched to your skin type, coverage placed only where it is needed, and color chosen from your own coloring rather than a generic default. Learn the seven steps once, and the adjustments become quick decisions — powder or no powder, full base or concealer only, five minutes or ten. For the whole picture, this soft routine pairs naturally with relaxed, shoulder-length haircuts for thick wavy hair and other undone styles that keep the effect easy rather than formal.


2 Comments on “Natural Everyday Makeup Look: A Simple Step-by-Step Routine”